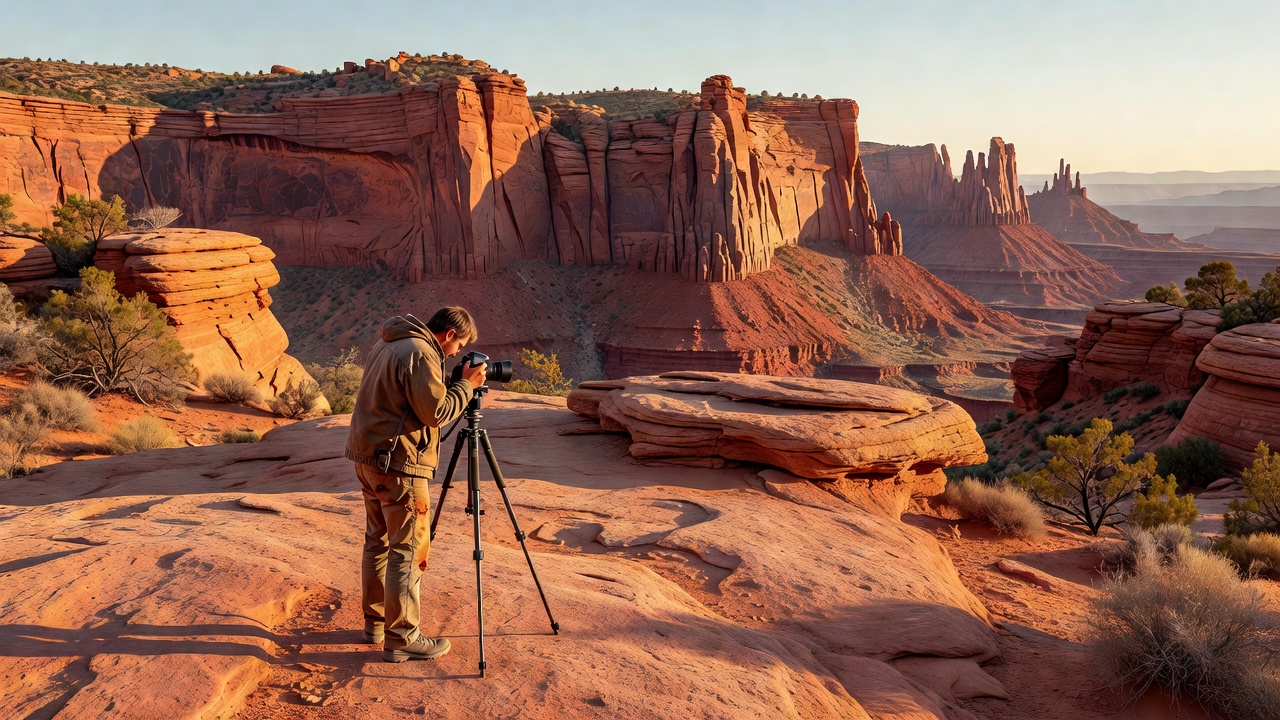
Decide what the photograph is about
Before lifting the camera, finish a simple sentence: “This image shows…” A resistant bed above a gentle slope is a clearer subject than “the desert.” So is a channel cutting across layers or a color boundary passing through cross-bedding. A specific subject helps you choose a viewpoint and makes the resulting image more useful as a field record.
A phone is sufficient for many observations. A camera with interchangeable lenses gives more framing choices, but equipment does not replace context. Begin with a broad view, move to a medium view of the relationship and finish with a detail if it is safely accessible. Together, these frames preserve information that an isolated close-up can lose.
Match the light to the evidence
Light arriving across a rock face can reveal shallow ridges, small ledges and weathered grain textures through shadow. This makes side light useful for surface relief. It can also exaggerate minor irregularities and hide recesses in darkness. Turn your attention to the feature you are trying to show rather than assuming that the most dramatic light is always the most informative.
Soft light often helps compare mineral colors and trace subtle bedding because it reduces harsh contrast. Direct overhead light may flatten some slopes while clearly illuminating others. Warm reflected light from nearby sandstone can strongly influence a shaded wall. Note the conditions so that later viewers do not mistake illumination for a change in rock composition.
Choose a viewpoint that preserves relationships
For layered cliffs, a position roughly facing the wall can make bedding easier to trace. An oblique view may better reveal a protruding ledge or a joint opening. Compare both where the route permits. With mesas, leave enough surrounding space to show that the summit is an isolated remnant rather than an uninterrupted plateau beyond the frame.
A longer lens lets you frame distant details from a safe position. Changes in perspective come from moving the viewpoint, not from focal length alone; when you step back and use a longer lens to retain similar framing, distant features appear more closely aligned. Use that effect deliberately, and do not imply that separated landforms touch simply because a tight composition makes them overlap.
Expose for useful information
Check whether sunlit rock is losing texture in clipped highlights. If your camera offers a histogram or highlight warning, use it as a guide rather than relying entirely on a bright screen. Stabilize the camera on a permitted durable surface or use a tripod where allowed. Choose settings appropriate to wind, available light and whether any people in the frame are moving.
For color comparisons, keep processing restrained and consistent across a series. Raw files offer flexibility, but they are not automatically neutral records. White balance, tone curves and local adjustments all influence appearance. If you make a heavily interpretive edit, say so. Avoid removing fractures, changing layer boundaries or increasing saturation and then presenting the result as mineral evidence.
Include scale without putting someone at risk
A person on an established path can help convey size, but obtain permission before making them the recognizable subject of a photograph. Never ask anyone to approach an edge, climb a fragile formation or stand beneath an unstable overhang. If a safe scale reference is unavailable, give a qualified written description rather than manufacturing a hazardous demonstration.
At places such as Capitol Reef National Park, Arches National Park and Canyonlands National Park, check current rules on access, tripods, organized activities and unmanned aircraft. Protect biological soil crusts by staying on established routes or other permitted durable surfaces. Cultural sites require particular care: access permission does not automatically include permission to publish detailed locations or images.
Write a caption that stays honest
A useful caption gives a general location, identifies what is visible and separates interpretation from observation. “Inclined layers exposed in sandstone; the local geological guide identifies these as dune cross-bedding” is stronger than guessing a precise age from appearance. Record the source of any formation name. Avoid publishing sensitive site coordinates merely to make an image seem more authoritative.
End your session with a short field note: subject, viewpoint, light, visible clues and unanswered questions. Compare the photographs with your sketch when you return. If the image obscures the relationship you meant to show, that is a useful lesson for the next visit. A thoughtful series can communicate more geology than a single highly polished landscape.